

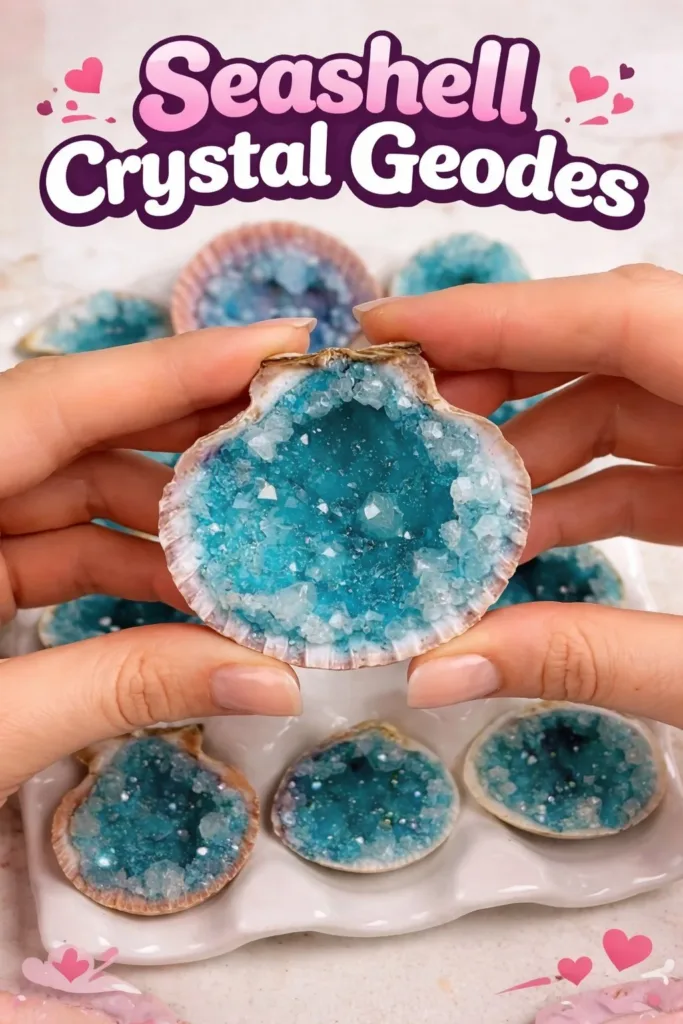
The warm weight of a large scallop shell sits in my palm like a quiet memory. Salt and sun gather in its ridges, catching the light in thin, bright lines. I press my thumb to the cool inner curve and imagine fine crystals forming there, tiny facets catching the morning light. This is the gentle focus I find in making Seashell Crystal Geodes, a small ritual that asks for slow movements, quiet breath, and a little patience.
The Heart Behind This DIY
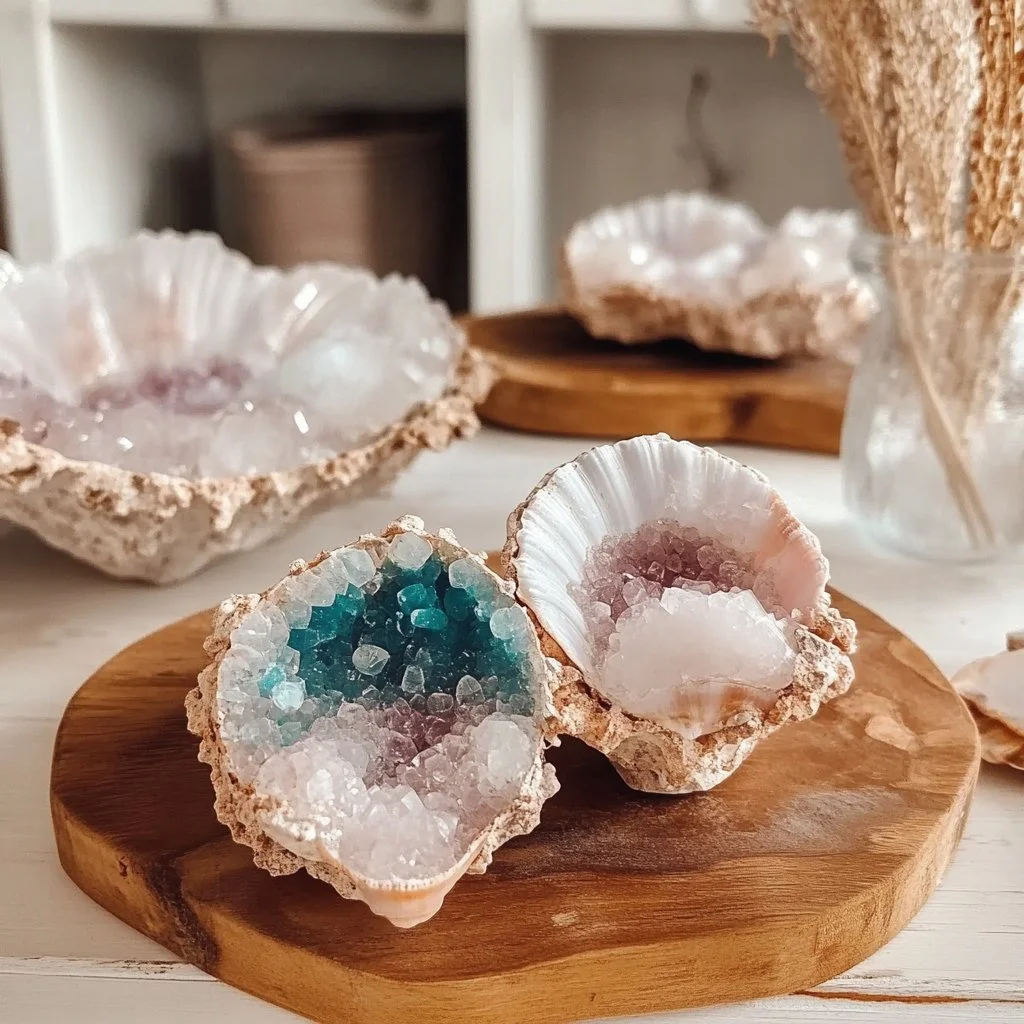
Making Seashell Crystal Geodes brings you back to small, tactile moments. The project invites curiosity without rush. When you tuck a cluster of crystals into a shell, you create a soft surprise: something familiar becomes new again.
You work with textures that feel honest under your fingers. The shell stays cool and smooth while the crystals dry and become brittle and bright. You hear a faint creak as glue sets, a tiny whisper as salt water cools. Those subtle sensations guide the pace. They steady your hands and focus your attention on the present.
This craft also keeps the natural world close. Seashells carry time and tide. Crystals echo earth and mineral growth. Together they form a small scene you can hold, a calm object for a bedside table or a gentle moment on a windowsill.
If you liked exploring small crystal experiments before, you might enjoy revisiting a different shape or texture from projects like the baking soda crystal heart growth I once made on a rainy afternoon. That experiment showed me how repetition and warmth coax simple materials into something unexpectedly lovely, and you can carry that same gentle practice into seashell geodes with ease. baking soda crystal heart growth
A Gentle Look at the Process
Before we gather supplies, picture how this project moves. You will clean and prepare a shell, make a warm, saturated crystal solution, and give it time to settle and cool. The main movement is patient: pour, wait, and observe. The rhythm suits slow hands.
You will mix and spoon instead of hammer or saw. You will watch steam curl off a jar, listen to the quiet of drying glue, and notice tiny facets forming on the surface of the solution. The work feels like tending a small garden. Each day you return and see subtle change.
If you enjoy the slow shaping of other crystal projects, this method will feel familiar. A related approach in another make involved building a little forest of rainbow-flecked crystals from baking soda and warm solutions. That project taught me how color blends and crystal shape change with temperature and time. You can draw on that same patient observation here. baking soda crystal tree process
What You’ll Use to Make Seashell Crystal Geodes
- Large clean seashells, shells with a deep bowl work best (easy to find at craft stores or collected from the beach)
- Epsom salt (magnesium sulfate) or borax (choose one; Epsom salt is gentler and bath-friendly, borax gives faster, larger crystals)
- Hot water, freshly boiled or near-boiling
- Food coloring or mica powder (optional for color)
- Clear-drying craft glue or clear PVA glue (helps crystals adhere)
- Small paintbrush or cotton swab for applying glue
- Tweezers or a pair of chopsticks (for positioning crystals)
- Small jar or cup for mixing solution
- Spoon for stirring
- Disposable gloves (if using borax; optional but soothing)
- Protective work surface and paper towels (to catch drips)
- Small display stand or dish for drying (optional)
Notes: Epsom salt feels soft in the hand and has a faint mineral smell when warm. Borax works well but can irritate skin or pets, so use gloves and keep it out of reach. You can substitute one salt for another, but crystal shape will vary.
I sometimes choose a shell that already shows tiny mineral deposits. They give the new crystal growth something to cling to, and the contrast makes the finished piece feel older and more mysterious. If you want more color, a few drops of food coloring or a pinch of mica powder will tint the solution in subtle, watercolor ways. For a shimmering, jewel-like quality, mica works beautifully.
Materials You’ll Need
- Clean seashells, dried and free of loose sand
- Epsom salt or borax (one type only)
- Hot water (enough to make a saturated solution)
- Food coloring or mica powder (optional)
- Clear-drying glue (PVA or craft glue)
- Paintbrush or cotton swab for glue application
- Mixing jar or cup
- Stirring spoon
- Tweezers or chopsticks for placement
- Disposable gloves (recommended for borax)
- Paper towels and a small tray for catching drips
- Small display stand or shallow dish (optional)
I keep a jar of Epsom salt beside my mixing bowl. When I warm the solution, it smells faintly mineral and calming. Epsom salt makes smaller, sparkly crystals, which feel soft and linen-like to the touch when they dry. Borax yields bolder, clearer crystals. Both choices teach you to read what the materials want, which is part of the quiet skill of crafting.
Step-by-Step Directions
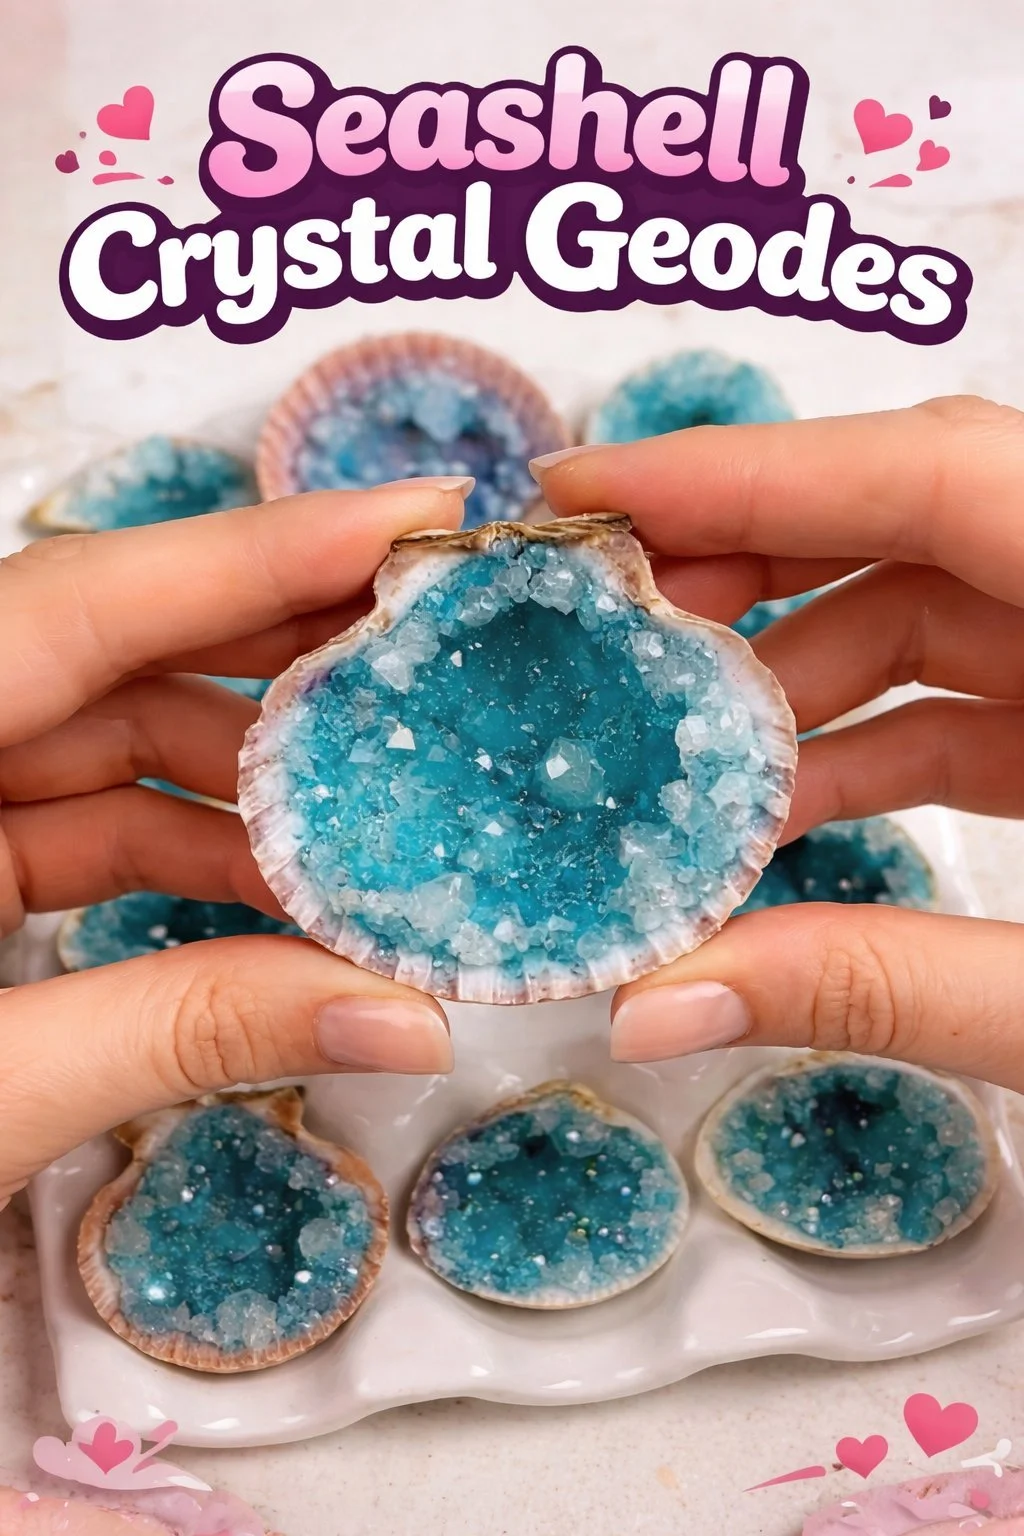
- Choose and clean your shell by rinsing it in warm water and letting it dry fully.
Pat its interior gently. Notice its cool curve and the way light moves across the ridges. - Prepare your workspace on a towel or tray to catch drips.
Place the shell cup-up on a stable surface with good light and fresh air. - Mix a saturated crystal solution in a jar.
Add hot water to the jar, then stir in Epsom salt or borax until no more will dissolve and some settles on the bottom. - Add color if you wish.
A drop or two of food coloring or a pinch of mica powder disperses into the hot solution like a soft watercolor bloom. - Apply a thin layer of clear glue inside the shell where you want crystals to stick.
Use a small brush. The glue acts as a gentle anchor for the first crystals. - Spoon or pour a little of the warm solution into the glued area of the shell.
Work slowly to avoid overflow and listen to the tiny steam whispers as the liquid cools. - Decorate with a few larger seed crystals or bits of Epsom granules.
Use tweezers to place them where you want focal points; press them into the glue slightly. - Let the shell sit undisturbed in a quiet, warm spot for several hours.
As the solution cools, crystals will begin to form along the glue and the shell’s edges. - Check the shell after a day, then again after two or three days.
You will notice more facets forming, tiny spires reaching toward open air. - If you want denser growth, add another thin layer of glue and a fresh pour of saturated solution.
Allow time between layers so the earlier crystals do not dissolve. - When the crystals feel dry and firm, gently tap the shell to remove loose granules.
Sweep with a soft brush to reveal the polished faces and tiny sparkles. - Place the finished geode on a small stand or in a shallow dish away from direct sunlight and damp places.
The piece will stay dry and keep its sparkly surface longer in a calm, stable spot.
These steps work because a saturated solution carries dissolved mineral back into solid form as it cools and evaporates. The glue gives crystals a starting point, so they build outward rather than sliding around the inner curve of the shell. I learned to wait between layers; impatience can dissolve the delicate beginnings and blur the tiny facets that make these geodes so charming.
Enjoying the Finished Piece
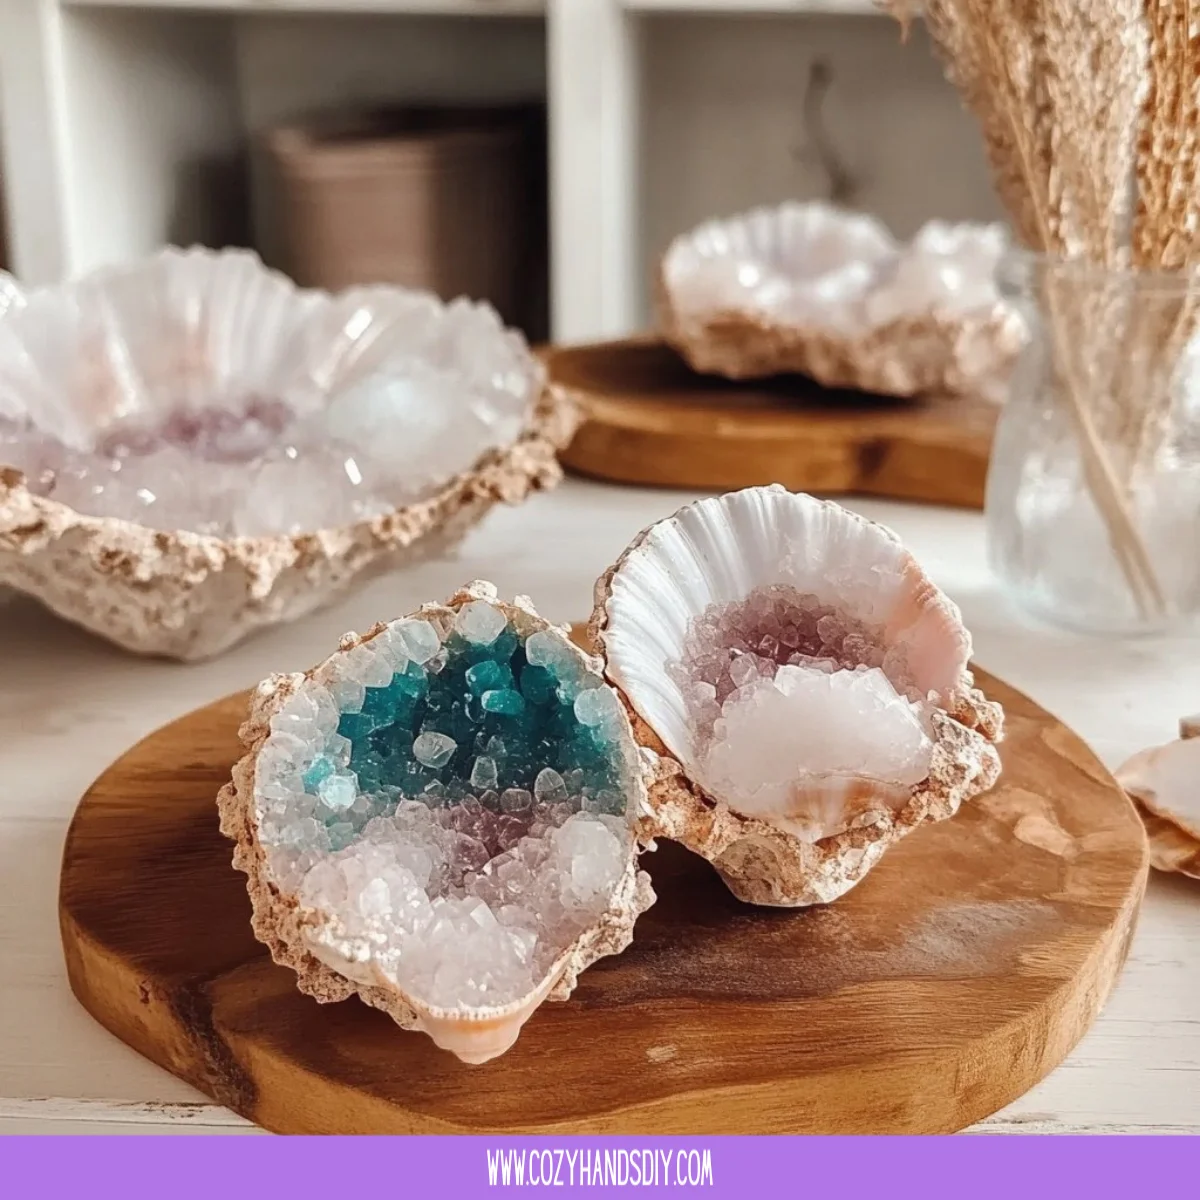
You can use a Seashell Crystal Geode as a small, calm object for your bedside table, a gentle paperweight, or a tiny altar piece. On a morning when the light is soft, set it near a window and watch facets catch sun rays like tiny stars.
Place a single shell on a stand to let it tilt into the light. If you have several shells, group them on a shallow tray. The collection will offer a quiet landscape of textures, with shells’ smoothness contrasting the crystalline glitter.
I like to rest my palms near a finished geode when I take a few deep breaths. The coolness of the shell and the rough sparkle of the crystals give me a tactile anchor for mindfulness. If your home smells faintly of sea air, the piece can feel like a private shore.
For display ideas, think about soft surfaces and gentle lighting. A velvet-lined tray, a linen napkin, or a wooden dish offers a calm stage. Avoid direct sunlight for long periods because some food coloring or mica pigments may fade. A little rotation of pieces now and then keeps them feeling new and attended.
You might enjoy arranging your seashell geodes near other small makes, like the tiny crystal trees that bloom slowly on a shelf. Seeing different scales of growth helps you appreciate how patient attention changes simple materials into quiet ornaments. baking soda crystal growing trees
Making This DIY Last
Store finished Seashell Crystal Geodes in a cool, dry place away from humidity.
High moisture can soften or dissolve some crystal types over time.
Handle them gently; crystals can be brittle and might flake if dropped or bumped.
If a shell’s edge chips, you can tuck a small felt pad underneath to protect surfaces and stabilize it.
Avoid cleaning with water once crystals form. Use a soft brush to remove dust.
If a crystal surface dulls slightly, resting the piece in a drier, warmer spot for a day can help re-crisp the edges as humidity leaves.
If you want to reuse a shell for a new geode, remove crystals by soaking briefly in warm water and gently scraping, then fully dry and start anew.
Some shells hold mineral stains from past projects. I keep a few especially lovely shells aside only for display to honor their original quiet beauty.
I once left a finished shell in a damp bathroom and woke to find the crystals softened into a fine, sugary crust. That taught me to treat humidity as a powerful variable. Now I choose display spots with gentle air and no direct steam.
Small Ways to Make It Your Own
- Invite scent: place a tiny dab of dried lavender or a slip of scented paper near the shell rather than on it.
The scent creates a small ritual without touching the crystals. - Try layered color washes with mica powders.
Apply a soft base color in the solution, let it dry, and add another faint tint for subtle depth. - Use found anchors: tiny sea glass pieces or small pebbles can sit among the crystals and create a coastal miniature.
They give the eye a focal point and a story to the piece. - Mix crystal types sparingly.
A small bit of borax alongside Epsom salt can create contrast, but test on a spare shell first to see how they interact. - Give each shell a name and a small paper tag.
This invites a mindful moment each time you handle the piece and makes display feel like caring for tiny companions.
These suggestions come from gentle experimentation. I invite you to try them as invitations, not rules. Let your sense of touch and quiet curiosity decide which feel right.
What I’ve Learned While Making This
I have learned that patience is the main tool in this work.
Rushing dissolves texture. Waiting reveals shape.
I learned to pay attention to small clues: a faint sheen on the solution means crystals are beginning, a tiny bump at the glue line suggests a new cluster will follow.
Those small changes inform how I add more solution or stop for a day.
I learned to accept imperfections. Not every crystal grows into a perfect facet. Some form as soft, curved crystals that catch light differently. Those unexpected shapes often become my favorites.
I learned to keep a little notebook where I record which salt and temperature I used for each shell.
That quiet record helps me repeat a look I loved or choose a different path next time.
Mostly I learned that the making moment can be its own reward. The finished object holds memory, but the small attentions along the way are what quiet the mind.
FAQs About Seashell Crystal Geodes
u003cstrongu003eQ. How long does it take for crystals to form?u003c/strongu003e
u003cpu003eA. Crystals begin to appear within hours, but fuller growth often takes one to three days. Check gently after the first day and then again after 48 hours for more defined facets.u003c/pu003e
u003cstrongu003eQ. Is this safe for children to make?u003c/strongu003e
u003cpu003eA. With Epsom salt and close adult supervision, older children can join. If you choose borax, use gloves and keep it away from little hands and pets. Always supervise and explain not to taste any materials.u003c/pu003e
u003cstrongu003eQ. Can I use real seawater?u003c/strongu003e
u003cpu003eA. Real seawater contains many minerals and organic matter that can cloud growth and change color. Filtered or distilled water with controlled salts yields more predictable crystals.u003c/pu003e
u003cstrongu003eQ. What if my crystals fall apart after drying?u003c/strongu003e
u003cpu003eA. They may have dried too quickly or formed too thin a bond with the shell. Reapply a thin layer of glue and a fresh pour of saturated solution, then allow more gentle drying time.u003c/pu003e
u003cstrongu003eQ. Can I make geodes in any shell?u003c/strongu003e
u003cpu003eA. Deep, cupped shells work best because they hold the solution. Flat shells will make surface crystal patterns rather than full geode-like clusters.u003c/pu003e
A Quiet Closing Thought
Sit with the shell once the crystals have settled. Turn it slowly in your hands and notice where light catches most sharply. These small gestures anchor us to now. Making Seashell Crystal Geodes gives permission to move slowly, to watch change day by day, and to find delight in small, patient transformations.
Let the piece remind you that gentle attention shifts ordinary things into tiny treasures. Keep your practice simple, your expectations soft, and your hands steady.
Conclusion
If you want a simple way to elevate a finished piece for display, a small stand helps the shell tilt into light and give the crystals room to breathe; I like the clean look of a stand such as the Hipiwe Gold Metal Arm Display Stand Easel with Acrylic Base for delicate pieces. For more inspiration or to explore naturally formed geodes and crystal clusters that mirror this kind of work, I often browse curated collections like GEODES AND CRYSTAL CLUSTERS | Buried treasure to see the variety of shapes and colors that minerals take.
Thank you for making slowly today.
PrintSeashell Crystal Geodes
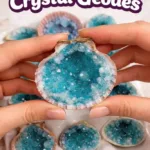
Create beautiful Seashell Crystal Geodes with simple materials and a patient touch, transforming ordinary shells into shimmering displays of crystal beauty.
- Prep Time: 15 minutes
- Cook Time: 1 day
- Total Time: 3 days
- Yield: 1 Seashell Crystal Geode
- Category: Craft
- Method: DIY
- Cuisine: N/A
- Diet: N/A
Ingredients
- Large clean seashells
- Epsom salt or borax (one type only)
- Hot water (enough to make a saturated solution)
- Food coloring or mica powder (optional)
- Clear-drying craft glue
- Small paintbrush or cotton swab
- Tweezers or chopsticks
- Small jar or cup for mixing solution
- Spoon for stirring
- Disposable gloves (if using borax; optional)
- Protective work surface and paper towels
- Small display stand or dish for drying (optional)
Instructions
- Choose and clean your shell by rinsing it in warm water and letting it dry fully.
- Prepare your workspace on a towel or tray to catch drips.
- Mix a saturated crystal solution in a jar.
- Add color if you wish with food coloring or mica powder.
- Apply a thin layer of clear glue inside the shell.
- Spoon or pour a little of the warm solution into the glued area of the shell.
- Decorate with larger seed crystals or bits of Epsom granules.
- Let the shell sit undisturbed in a warm spot for several hours.
- Check the shell after a day, then again after two or three days.
- If you want denser growth, add another thin layer of glue and a fresh pour of saturated solution.
- When the crystals feel dry and firm, gently tap the shell to remove loose granules.
- Place the finished geode on a small stand or in a shallow dish.
Notes
Handle the shells gently, as crystals can be brittle. Store finished pieces in a cool, dry place and avoid direct sunlight for prolonged periods.
I have tried this 3 times, following the “recipe” exactly.
Each time increasing the amount of borax from 2-3 tbsp to 4-5 tbsp, and finally 7+ tbsp. No crystals!
What’s wrong?