

When the world outside grows quiet, it’s wonderful to create a little magic indoors. The winter air often carries a crispness that nudges us to slow down and cherish the warmth of home. As we gather around a table and let our hands explore the simple materials, we can immerse ourselves in the gentle repetition of crafting. The DIY Snowstorm Winter Jar captures that serene, snowy stillness, inviting us to breathe in the tranquility of winter without stepping outside.
Why Make This DIY Snowstorm Winter Jar

Creating the DIY Snowstorm Winter Jar offers an opportunity to reflect on the beauty and stillness of winter. It provides a moment to slow down, to be mindful of our movements as we transform simple items into something enchanting. The soft shimmer of glitter and the swirls of liquid within the jar mimic a calm snowstorm, encouraging a sense of peace. Making this jar isn’t solely about the end result; it’s about the process of coming together in a cozy space, igniting our creativity, and taking a moment for ourselves. Each movement, whether pouring, shaking, or layering, becomes part of a mindful rhythm.
The process of making this jar connects us with the very essence of winter, turning memories of flurries into a tangible form. The gentle sound of the glitter swishing through water creates a soothing backdrop, grounding us in the present. Like a gentle snowfall, each aspect of this project wraps around us in warmth and comfort, reminding us to appreciate the delicate beauty of craft in our daily lives.
The Flow of Making DIY Snowstorm Winter Jar

Before we dive into creating our winter jar, let’s take a moment to feel the rhythm of the making process. Imagine softly pouring the water, watching it cascade down like a gentle stream. As you stir in the glitter, notice its lightness and the way it dances in the liquid. The act of layering different elements invites a mindful focus that can easily lift our spirits. You’ll find that the sounds of the materials interacting—a soft plink of glitter, the quiet rush of water—form a calming symphony, encouraging a grounded connection to each moment.
Gathering Your Materials
To create the DIY Snowstorm Winter Jar, you will need:
- A clear glass jar with a lid (mason jars work beautifully)
- Distilled water (easy to find, helps keep the jar clear)
- Glitter or fake snow (choose a style that resonates with you)
- Glycerin (optional, for a slower fall of the glitter)
- A few drops of essential oil or food coloring (optional, for added sensory enjoyment)
- A hot glue gun (for sealing the lid)
Each item contributes to the calming experience of this project. The glass jar serves as a vessel for your creativity, while the water and glitter create the mesmerizing effect of a snowstorm.
Step-by-Step Directions
- Begin by cleaning the glass jar to ensure it sparkles like fresh snow. Enjoy the smooth surface as you wipe it down.
- Carefully fill the jar with distilled water, leaving some space at the top for movement. Listen to the gentle splash as it fills up.
- If you wish, add a few drops of food coloring to the water, watching as it swirls and disperses. This adds a lovely touch of color to the snowy scene.
- Pour in about two tablespoons of glitter or fake snow. Observe how the light catches the glitter, giving it a shimmering life of its own.
- For a slower snowfall effect, add about a tablespoon of glycerin to the mix. This will allow the glitter to float gracefully, giving you time to enjoy the beauty.
- Place the lid on the jar, ensuring it is tight. You might wish to secure it with hot glue around the top edge. This guarantees a snug fit so the contents stay safely inside, allowing you to gently shake and admire the snowfall.
- As a calming finale, give your jar a gentle shake. Watch the glitter cascade and swirl, echoing the sensation of winter dancing outside your window.
Using DIY Snowstorm Winter Jar in Everyday Life

Once you’ve completed your DIY Snowstorm Winter Jar, consider how it can bring a touch of wonder to your space. Display it on a windowsill, letting the sunlight filter through and illuminate the glitter within. When you feel the chill of winter outside, take a moment to shake the jar, inviting the snowstorm to life.
You can incorporate this jar into soothing routines—maybe as part of your evening ritual, where you take a minute to reflect on the beauty of the day. Place it on a shelf among other cherished items, allowing it to be a reminder of calm in your daily life. The jar can even serve as a lovely handmade gift, sharing the warmth of creativity with others.
Making This DIY Last
To keep your DIY Snowstorm Winter Jar looking beautiful, store it in a cool, dry place when not in use. If you notice any settle at the bottom, simply give it a gentle shake. This project is all about the peace of creation, and if you ever feel inspired to update it, add more glitter or change up the colors!
If it’s not currently on display, place it somewhere safe where you can enjoy its quiet beauty. This jar not only captures the essence of winter but also symbolizes the gentle moments that come with crafting and reflection.
Gentle Tips & Variations
Consider these gentle invitations to make your DIY Snowstorm Winter Jar uniquely yours:
- Experiment with different colors of food coloring; you might find a combination that resonates deeply with your mood.
- Try layering different types of glitter—fine, chunky, or even metallic—to create a rich texture.
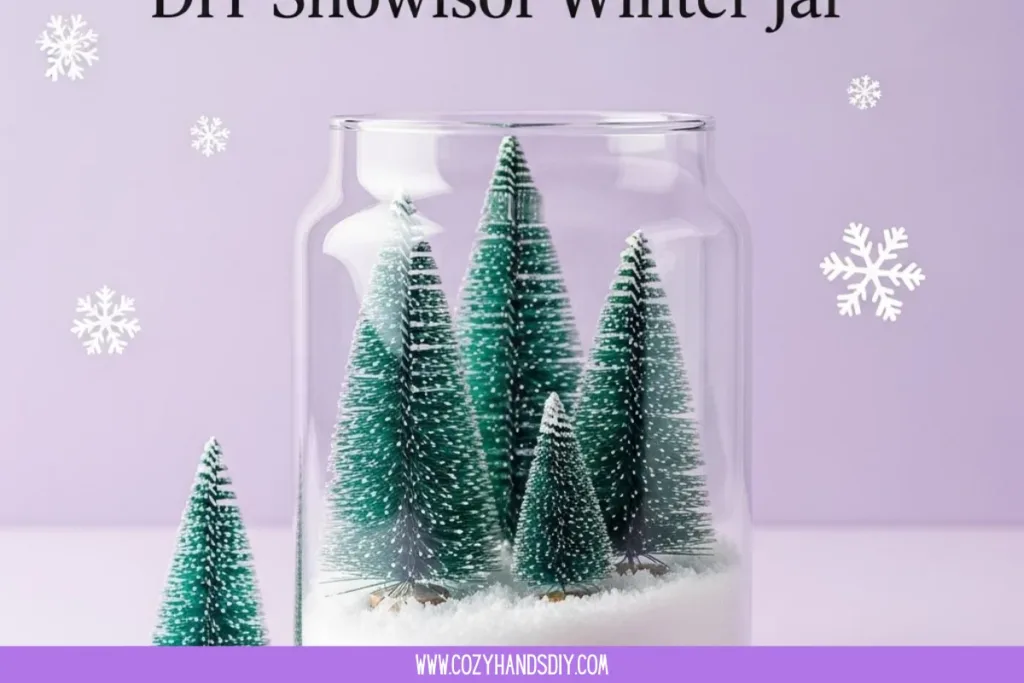
- Add small winter-themed figures or miniatures inside the jar. These could be tiny pine trees or snowmen, turning your jar into a snowy scene.
- If you want to enhance the sensory experience, consider using essential oils that evoke the freshness of winter, like peppermint or pine.
These ideas allow you to personalize your creation while maintaining the soothing essence of the project.
Explore Seasonal Cozy DIY Projects
This project fits beautifully into the rhythm of the season. Discover more seasonal cozy DIY ideas designed to celebrate simple moments, natural materials, and creative comfort throughout the year.
FAQs
What if I don’t have glycerin?
You can still create a beautiful snowstorm without it. Just omit glycerin, and you’ll enjoy a slightly faster-falling glitter effect, which can also be lovely.
Can I reuse the materials later?
Absolutely! If you choose to disassemble your jar, you can reuse the glitter and other components for future projects. Enjoy the process.
How do I clean my jar if it gets dusty?
A soft cloth with warm, soapy water will do the trick. Be gentle to maintain the beauty of your creation.
Can I make this project with children?
This DIY is a wonderful project for kids with supervision. It’s an opportunity for quiet creativity and can spark wonderful conversations about winter.
A Gentle Note Before You Go
As you finish making your DIY Snowstorm Winter Jar, take a moment to bask in the simplicity and joy of the finished piece. Each snowflake of glitter and ripple of water tells its own soft story. Allow yourself to appreciate this creation as more than just a decoration; it’s a symbol of the calmness that comes from crafting.
May this jar serve as a gentle reminder to embrace the stillness of winter, and may your hands always find comfort in the act of creation.
Find Daily Cozy DIY Inspiration on Pinterest
For even more gentle DIY ideas, creative inspiration, and cozy hands-on projects, follow Cozy Hands DIY on Pinterest. We share new crafts daily, save-worthy visuals, and calming recipes you can come back to whenever you need a little creative peace.
DIY Snowstorm Winter Jar

A serene DIY project capturing the beauty of winter in a jar, featuring shimmering glitter and soothing water swirls.
- Prep Time: 10 minutes
- Cook Time: 0 minutes
- Total Time: 10 minutes
- Yield: 1 jar
- Category: Craft
- Method: Crafting
- Cuisine: N/A
- Diet: N/A
Ingredients
- A clear glass jar with a lid (like a mason jar)
- Distilled water
- Glitter or fake snow
- Glycerin (optional)
- A few drops of essential oil or food coloring (optional)
- A hot glue gun
Instructions
- Clean the glass jar to ensure it sparkles like fresh snow.
- Fill the jar with distilled water, leaving some space at the top.
- Add food coloring if desired.
- Pour in about two tablespoons of glitter or fake snow.
- For a slower snowfall, add a tablespoon of glycerin.
- Seal the jar’s lid tightly, using hot glue for a snug fit if needed.
- Shake the jar gently to watch the glitter cascade and swirl.
Notes
Experiment with different colors and types of glitter for a unique look. Consider using essential oils for an added sensory experience.